Shopify Payments 101: My Guide to Shopify’s Payment Gateway
If you click to purchase a product or service based on our independent recommendations and impartial reviews, we may receive a commission. Learn more
Setting up online payments on your store can be daunting, with separate accounts to register and hidden fees to consider. Shopify is just one platform that simplifies this process by offering an integrated payment gateway, Shopify Payments.
Whether you’re just setting up your store and are overwhelmed by the confusing processes, or you’re a seasoned seller looking to make the move from a third party gateway, Shopify Payments could save you both time and money.
In this guide, I’ll give you the low down on Shopify Payments and teach you how to set it up on your Shopify account and start making payments.
How Shopify Payments Works
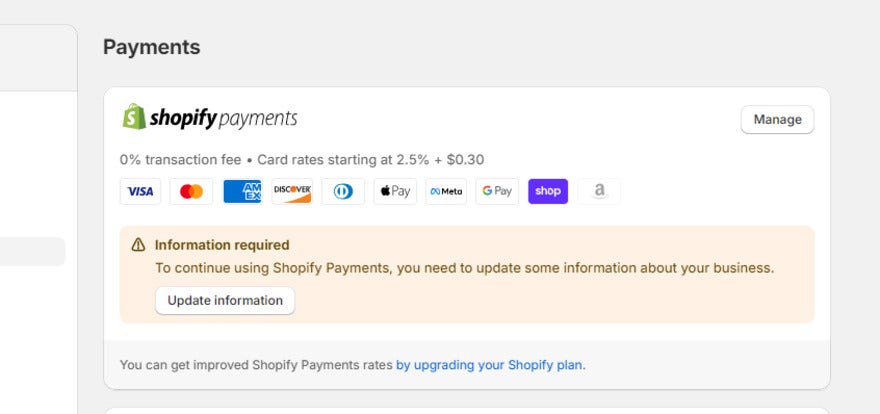
Shopify Payments is Shopify’s native payment gateway that provides an all-in-one solution for merchants. A payment gateway is a service used to process and receive online payments from customers; it acts as a bridge between the customer and merchant’s bank accounts to securely transfer the money to the seller.
I’ll explain how Shopify Payments works by first outlining the typical payment process for a merchant using an external payment gateway instead of a native one like Shopify Payments. If you decide to take payments in this way, you’ll have to:
- Set up a merchant account
- Set up a payment gateway and link this to your merchant account
- Integrate the payment gateway into your Shopify checkout
- Pay transaction fees to Shopify and processing fees to your external gateway for each payment
- Receive payouts in up to five business days
Shopify Payments effectively streamlines this process by cutting out the need to register for external accounts and reducing the time it takes to receive payments. Using Shopify Payments then changes the above process to this:
- Set up Shopify Payments
- Pay a processing fee to Shopify and zero transaction fees for each payment
- Receive payouts in one to three business days
Shopify Payment Fees
Shopify Payments is accessible with any Shopify plan, at no extra cost. When using it, you’ll face no transaction fees and will only be charged a payment processing fee that decreases with each plan.
| Basic plan | Shopify plan | Advanced plan | |
|---|---|---|---|
| Shopify Payments online processing fees | 2.9% + 30¢ | 2.7% + 30¢ | 2.5% + 30¢ |
| Shopify Payments in-person processing fees | 2.6%+ 10¢ | 2.5%+ 10¢ | 2.4%+ 10¢ |
| Shopify Payments transaction fees | None | None | None |
| Third party gateway transaction fees | 2% + your chosen gateway’s standard processing fee | 1% + your chosen gateway’s standard processing fee | 0.6% + your chosen gateway's standard processing fee |
If your business sells in a brick and mortar store, you can also use Shopify Payments with a Shopify Point of Sale (POS) device. As shown in our table, these fees will range between 2.4% + 10¢ and 2.6% + 10¢, depending on your account.
Shopify Chargeback Fees
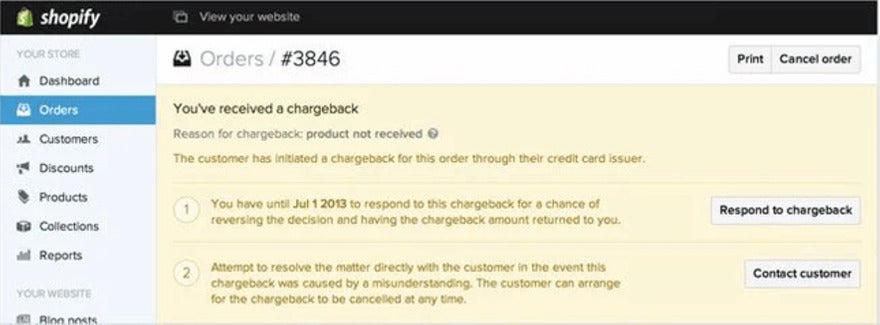
As a merchant, chargebacks are an accepted risk that you’ll have to deal with from time to time. These happen when someone makes a purchase from you, then files a complaint with their credit card company to try to cancel the transaction.
When a customer’s bank sends you a chargeback, they also charge you a processing fee that varies by country – it’s a standard charge of $15 in the US, for example. Shopify will only pay this fee for you if the chargeback is resolved in your favor. If the chargeback is resolved in the customer’s favor, or if you choose not to dispute it, then you’ll have to pay the $15 yourself.
Eligibility and Requirements
Shopify Payments is a convenient payment solution for anyone with an online Shopify store, but unfortunately, there are strict criteria for eligibility that not all businesses will meet.
Eligible Countries
Firstly, Shopify Payments for online stores is only available in 23 countries. This list of supported countries includes the United States, Canada, Hong Kong, Singapore, and the United Kingdom. If you’re looking to use Shopify Payments for in-person payment processing, the list of supported countries narrows to 14.
Prohibited Businesses
Secondly, you won’t be able to use Shopify Payments if your business offerings are prohibited. Prohibited products and services vary in each country depending on regulations, but across the board, you cannot use Shopify Payments to sell:
- Regulated or illegal products and services
- Financial and professional services
- Adult products
- Pharmaceuticals
- Gambling products and services
- Counterfeit products
This list prohibits a lot of lawful businesses from using Shopify Payments, such as law firms, mortgage consultancies, online pharmacies, and even sites selling fireworks. On top of this list, there are additional guidelines for each country. Shopify states that it may shut down any non-compliant store with zero notice, so it’s important to be aware of the guidelines that apply to you.
Two-Step Authentication
You’ll also be required to secure your account with two-step authentication before you can use Shopify Payments. This means that, to log into your account, you’ll have to use your standard login credentials as well as a secondary security measure like SMS or an authenticator app.
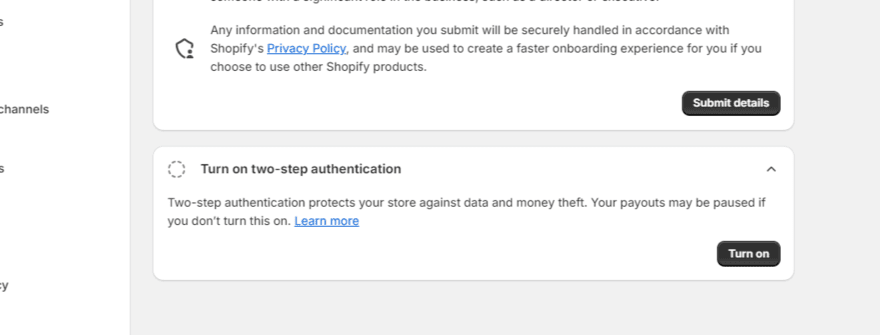
This extra security is really easy to set up on your account and will give you the peace of mind that no unwanted parties can access your Shopify account. Go to your Shopify admin and select “manage account”, and you can quickly enable two-step authentication here.
How To Set Up Shopify Payments
Now you’ve ensured you meet the criteria, it’s time to get started with Shopify Payments. With it being integrated into your Shopify admin automatically, the process couldn’t be simpler; it only took me around five minutes to get set up.
The information required will vary slightly depending on the country you’re in, but the process will be similar on the whole. Here’s how to set up Shopify Payments in the US:
From your Shopify dashboard, select the settings button in the bottom left corner of the sidebar.
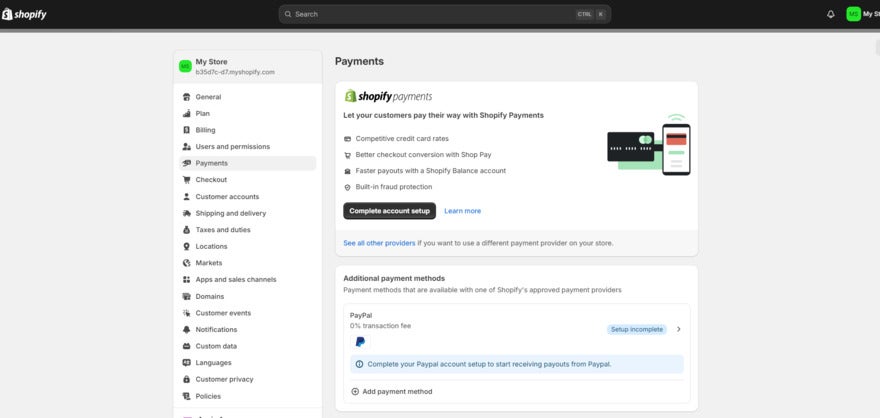
Once you’re in the settings, select payments; you’ll be able to view and set up payment methods for your store on this page! Shopify Payments should be the first payment option you see. Select complete account setup, and you’ll be prompted to add any details needed.
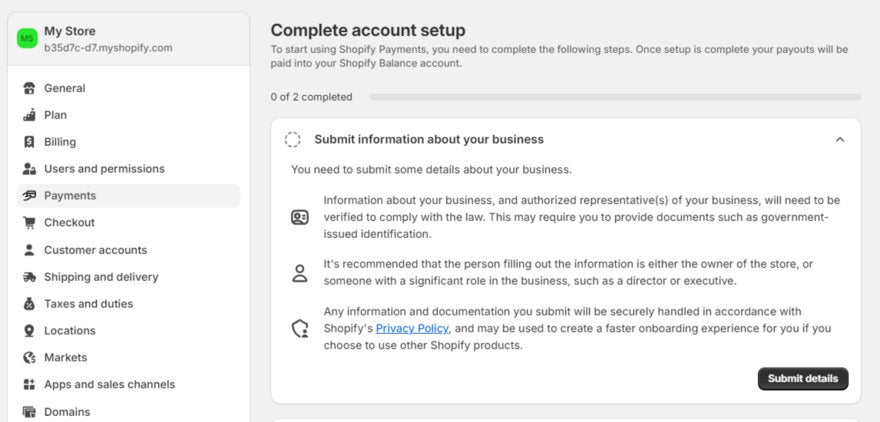
Within this section, select submit details, and you’ll be able to classify your business as one of the following:
- Individual/sole proprietor/single-member LLC
- Corporation
- LLC
- Partnership
- Nonprofit
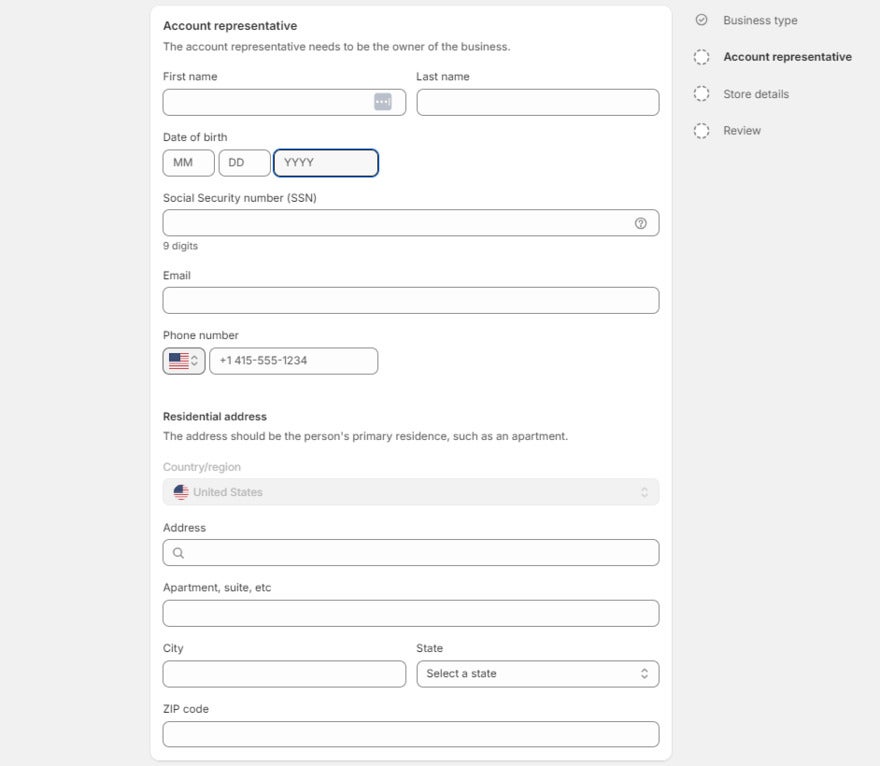
Next, you just have to provide some basic details about your business, starting with information about the account representative – or the owner of your business. For an Individual or sole proprietor, I was asked to submit the business owner’s:
- Name
- SSN
- Email address
- Phone number
- Personal address
If you’re a corporation, you’ll have to provide your business number, EIN, or Taxpayer Identification Number.
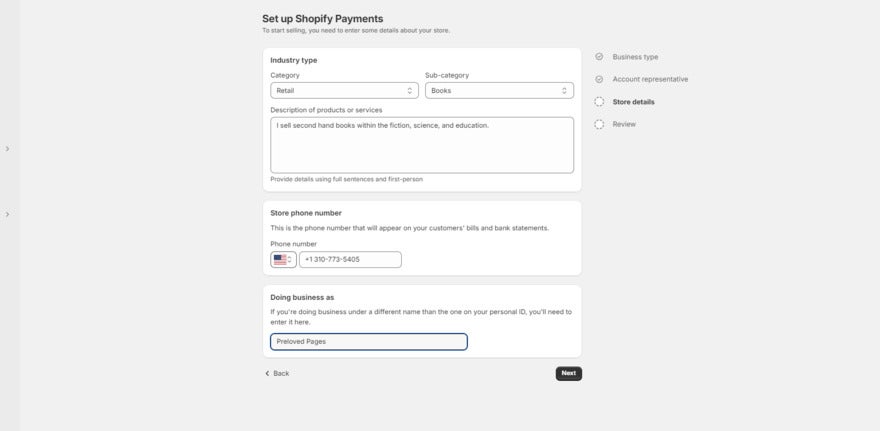
The final step is to include some basic store details, like your industry type, company name, and what you’re selling.
Shopify asks for this information mainly so that it knows who’s joining Shopify Payments. While you should provide the correct information, it’s not set in stone and won’t affect your store, so don’t worry if you want to change these details at a later date!
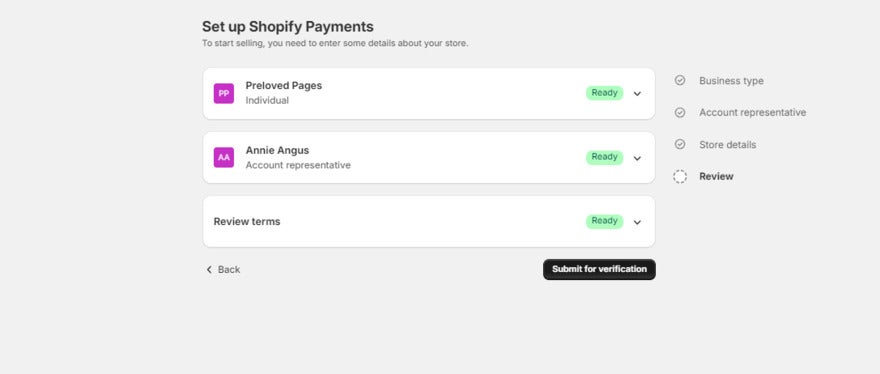
It’s as simple as that! Your information will be verified in up to three business days, after which you’ll be ready to start accepting payments!
You might be wondering why you haven’t been asked to input any bank details. If your business is in the United States or Puerto Rico and meets the eligibility requirements, Shopify Payments will automatically set you up with a Shopify Balance account.
This will let you manage your ecommerce store’s payments and transactions in one place, and comes with perks like faster payouts and cashback on spending. Bank details will only be requested if you’re not eligible for a Shopify Balance account.
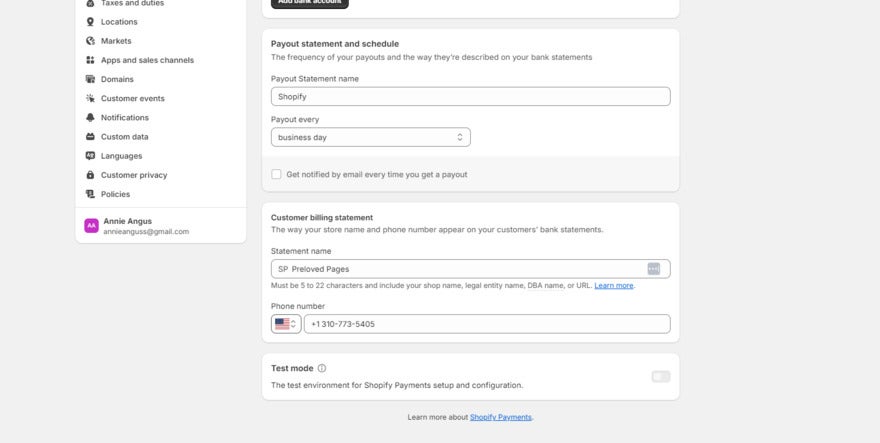
Once you’ve been approved for and set up your preferences in Shopify Payments, you should test a transaction to see how the customer will be able to purchase an order, as well as how your company processes these orders.
Test mode disables the use of real credit cards in your store, so you can mimic the whole payment and iron out any issues that crop up. It can be found by going to your settings, scrolling to the bottom of the payments section, and toggling it on.
Alternatives to Shopify Payments
If you’ve built an online store with Shopify already, utilizing its payment gateway is definitely worthwhile. However, other ecommerce platforms offer similar integrated payment services. Here’s an overview of the main features offered by the leading all-in-one platforms:
| Shopify Payments | Wix Payments | Squarespace Payments | |
|---|---|---|---|
| Online payment processing fees | 2.5%+30¢ - 2.9% + 30¢ | $2.9+30¢ | $2.9 + 30¢ |
| Transaction fees | None | None | 0%-3% depending on the plan |
| Countries available | 23 | 15 | 3 |
While Shopify, Wix, and Squarespace all charge the same processing fee of 2.9% + 30¢, Shopify offers lower rates to anyone on its Standard plan or above. While this is a standout feature, you should consider whether the reduced processing fees will outweigh the price of upgrading your Shopify plan.
Shopify Payments is also the most widely available, and comes with no transaction fees. Compared to Wix Payments, which is only available in three countries and charges transaction fees on its business plan, I’d recommend Shopify Payments as the best overall.
Summary
Shopify Payments is a neatly-packaged solution for Shopify merchants wanting to manage and monitor everything payment-related in one place. That said, its main drawback is its eligibility criteria, which will prevent a lot of businesses from using the service. This isn’t singular to Shopify, as Wix and Squarespace are limited to even fewer countries.
Luckily, third party payment gateways can be integrated into your Shopify store as an alternative.
For those who are eligible for Shopify Payments, you now know how to integrate it into your store and start seeing the rewards!

65 comments