How to Migrate from Shopify to WooCommerce
If you click to purchase a product or service based on our independent recommendations and impartial reviews, we may receive a commission. Learn more
Is the Shopify to WooCommerce Migration a Simple Task?
People change over time, and with these changes of personality and physicality, come changes of personal preferences.
If you’ve started an online store on one platform, you might find yourself looking to rejuvenate your store by moving to another. This might be for any number of reasons – pricing, features, templates – the list goes on.
As highlighted in our Shopify/WooCommerce comparison article, WooCommerce allows for international expansion of your business. If you find your business is growing fast and you’re looking to expand into other markets, this migration might be just what you need.
While the amount of users on one platform don’t tell a definitive story, it’s worth noting that while Shopify has recently broken one million users, WooCommerce hosts just under 4 million websites – and is home to 6.8% of the world’s top million websites.
If you’ve been using Shopify for your online store and are looking to move your site to WooCommerce, you’re in luck. In this article we’ll go over the process of migrating your site, as well as some things you’ll want to keep in mind while doing so.
Migrating from Shopify to WooCommerce
- Create your WooCommerce account
- Backup your Shopify site
- Download Cart2Cart, or, if you don’t want to use a migration app, export your Shopify data and import it into WooCommerce
- Review your site and data
We’ll go over those five steps in depth, so without further ado, let’s get you on the road to WooCommerce.
1 Create your WooCommerce account
You can’t move your site to WooCommerce if you don’t have an account that can run it. That’s why, before diving into the actual transfer, you’ll need to do a bit of setup. Setting up a WooCommerce account is a bit trickier than a Shopify account, but if you’ve already cut your teeth on Shopify, you shouldn’t find yourself stumbling too much.
For example, with WooCommerce, you’ll need to supply your own security and hosting. While this might sound insurmountable, don’t worry! It’s actually super easy – both of these necessities can be handled with one add-on – Bluehost.

Bluehost is endorsed by WooCommerce, and has a WooCommerce auto-install option. By paying just $6.95 a month, you’ll be able to host and protect your website. And they’re not just endorsed by WooCommerce! We rank them as the number one WooCommerce partner as well.
Once you’ve set up your account and made sure you’re ready to migrate, it’s time to dive into the migration itself.
2 Backup your Shopify website
This step is not strictly necessary, but is still a very good idea. Whether or not your store is your main source of income, you probably don’t want to let it vanish into the aether if there’s a technical fault.
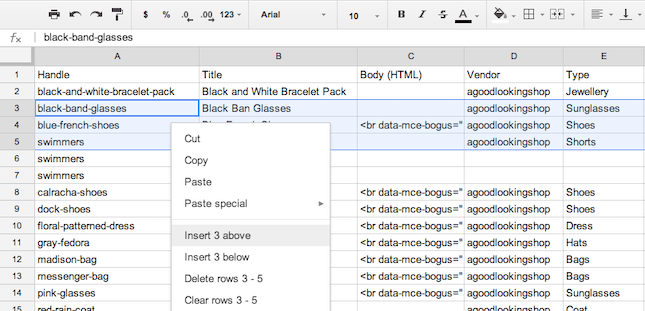
There are a couple of methods you can use to backup your Shopify site. The most basic but decently reliable method is just to export the entire store into a CSV file. Simply go into your store’s admin page, and select “export” on each of the different pages you want to backup (make sure to do this to each page individually!)
Keep in mind that doing this can cause some hiccups, so once it’s all posted on your new WooCommerce site, it’s good practice to go over everything and make sure there aren’t any broken links or missing media. And for everything you can’t export to a CSV file, like blog posts, you can copy into a word document.
If this is all sounding intimidatingly technical for you, however, then there are tools that can handle this for you. Shopify recommends using Cart2Cart, which is recommended by WooCommerce. Rather than manually having to carry over every bit of data yourself, Cart2Cart promises to carry over these elements:
- Products
- Customers
- Images
- Tags
- Product variants
- Categories
- Manufacturers
- Orders
- Coupons
- Reviews
- Multiple languages
- Multistore
- Taxes
- Passwords
As you can see, this is pretty much the entire website, so you won’t need to worry about anything getting missed or forgotten. Simply start the process and sit back while Cart2Cart gets to work. It also happens in the background, so your site won’t be affected, meaning you won’t be missing out on sales.
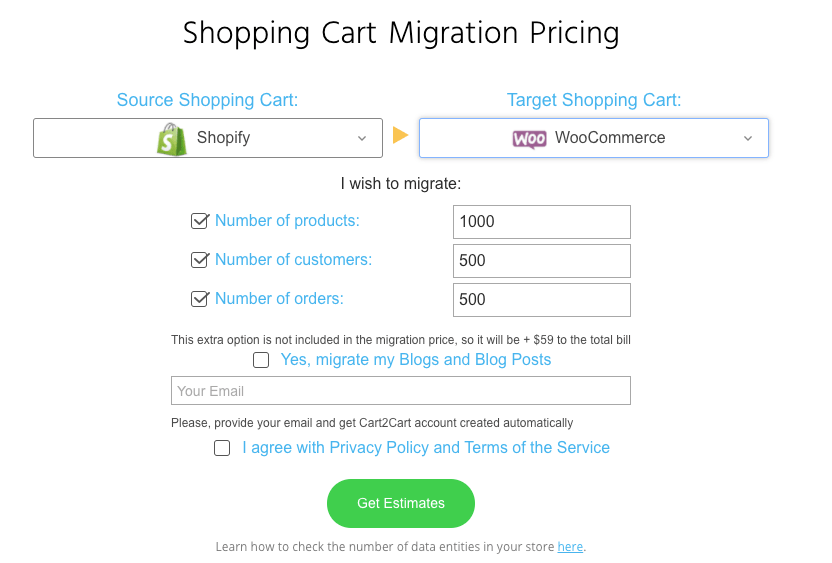
You will have to pay to use Cart2Cart. Their fee starts at $29 and increases based on the volume you’re migrating. Bigger sites means a higher price. However, you won’t need to blindly spend this money and hope it works for you. They do offer a free trial that can migrate a small number of entities to your new site, so you can see how it works and if it’s right for you.

If it’s not right for you, there are other options. WooCommerce is a WordPress plugin, so you could use WP All Import. This uses a CSV file (like the one you made when backing up your site) and transfers it to a WordPress site. It’s a bit pricier though, with the standard option costing $99, and the pro package costing $199.
Your data is important and sensitive, so you might want to know exactly how Cart2Cart works. After inputting your two websites, you simply check the boxes that correspond to what you’d like to bring across. Cart2Cart then securely moves the data between the two websites. For a more in depth look at the process, check out the process here.
If you don’t like the look of Cart2Cart, there is another option, but it’s a bit more manual.
As we mentioned, you’ll want to export your Shopify data in order to back it up. However, this serves multiple purposes. If you’re looking to save money and migrate without a tool, you’ll have to export and import your data manually.
Again, you’ll just have to export each individual property of your website (products, customers, orders, etc) into a CSV file. Make sure not to fiddle with this file once it’s been produced. Anything you change might have ramifications when you import it into WooCommerce.

There are a lot of elements you might want to take with you, so we won’t go over every one, but the process is largely the same for each of them.
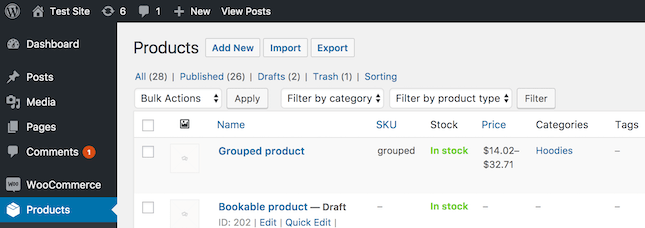
Then, simply import this CSV file into its corresponding page on your WooCommerce site. For example, on your WooCommerce site, there would be a “products” tab. This is where you’d import the “products” CSV sheet, and so on.

3 Review your site and data
A possibly boring but crucial final step – making sure everything works. It’s a good idea to get this done as quickly as possible, as it’s possible that you’ll have dead links dotted around the website that might cost you potential sales.
While it’s an important and potentially lengthy process, it’s not particularly complicated. Just make sure to check all your links and make sure your website flows well. Once everything seems to be in good working order, you can dust off your hands and sit back, happy with the knowledge that your site is now hosted on WooCommerce. You’ll be able to look through their 22 different themes and decide on the one that suits you and your products.

When it comes to designing your website, WooCommerce is an extension intended for WordPress. WordPress is a very popular platform to host a website on, so there are hours and hours of tutorials to sink your teeth into when it comes to designing your website.
How to Migrate from Shopify to WooCommerce: Recap
Migrating from Shopify to WooCommerce really isn’t that tricky at all! Just a few steps, and you’re on your way. So to recap these steps:
- Create your WooCommerce account: The essential starting point for the process is to make sure your WooCommerce account is in good working order and ready to receive the migrating website.
- Backup your Shopify site: Technically not essential but highly recommended – if something goes wrong you’ll want to make sure that you can recover your site.
- Download Cart2Cart, or manually import your data: Make sure you get a migration app that can help you easily move your data over in bulk. If you don’t want to use a migration app, take all your data and export it into CSV files. Then upload these files to your new WooCommerce site.
- Review your site and data: Check everything over and make sure all your links and media are where they should be.


Leave a comment