Creating Your Review Website: A Step-By-Step Guide in 7 Easy Steps
If you click to purchase a product or service based on our independent recommendations and impartial reviews, we may receive a commission. Learn more
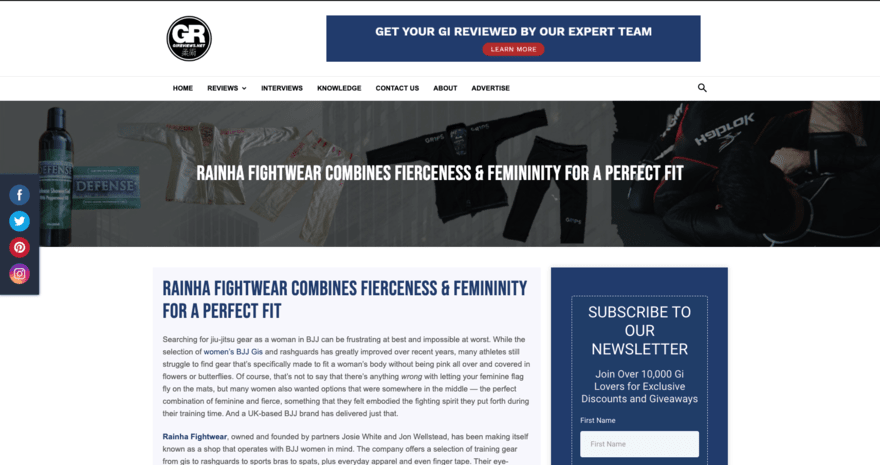
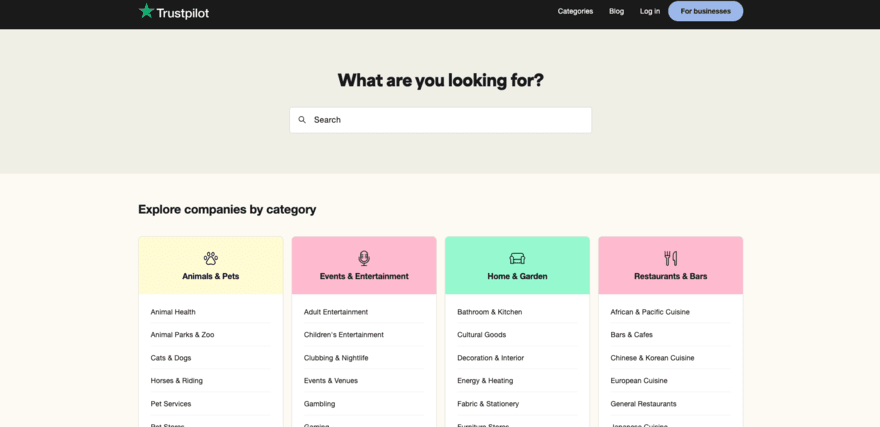
“Our products are FANTASTIC” – every brand, ever. Of course, all businesses think what they offer is fantastic. And this is where review websites come in. These sites are powerful tools for consumers. Offering real-world insight into the brands, products, and services that are available to them. If you’re thinking of building your own website, then a reviews website is an awesome choice for helping your target audience!
The impartial experiences shared on review sites can help inform buying decisions. This type of content is also typically more trusted than brand-owned content as a real representation of the experience a potential customer can expect to have.
In this article, we walk you step-by-step through everything you need to know to create your own review website, helping you to tap into their growing popularity.
Step 1: Define Your Niche and Audience
Before you dive into the technicalities of creating your review website, you first need to understand exactly who it will be for.
Understanding your niche will help you build a site which is purpose-built to meet your audience’s needs. On the other hand, failing to define your niche and audience can mean your website will fail to be truly beneficial to anyone.
You may already have a good idea of the area you will be creating a review site for. If not, look for a niche that is relevant to your current business offering, or the product or service you are interested in.
If you are hoping to monetize your review site, you should also take time to assess the potential profitability of your niche. Investigate the number of relevant businesses that already exist as well as the size of your potential audience.
Once you know the niche you are targeting, you need to dive deeper, finding details on the exact audience you are looking to help with your review site. This can be done in several ways, such as:
- Online research, for example, using simple Google searches to find information on those you are targeting
- Customer research, such as reaching out to your current customers to better understand their habits and needs
- Social media and other review sites, researching the type of information people ask for and provide in that niche

Step 2: Plan Your Website Structure and Features
Setting a clear purpose for your website will help dictate how it is structured. Your purpose should focus on serving your target audience to meet their needs.
Below we use an example of a motorbike review website to illustrate this point:
Their purpose may be something along the lines of:
“To provide reviews to help motorbike enthusiasts find the most reliable motorbike for their budget”
This purpose can then be applied to any decisions they make when creating their site. For example, when assessing a new website feature they may ask:
“Does this feature help our visitors find the most reliable motorbike for their budget?”
…if the answer is no, then they would likely not include it.
This approach can also be applied to structuring their website:
“What information will people need to find the most reliable motorbike within their budget”
Asking this question may result in the website breaking down its reviews based on price, such as:
- Under $5000
- $5000 – $10,000
- $10,000 – $15,000
- $15,000+
Use your purpose to help you plan the main sections and pages of your websites. You should also take some time to outline all the essential features of your review website. For example, you may detail all the filters that visitors will be able to search through your reviews with.
When creating your plan, considerer the applicability of common website pages such as your homepage, contact page and category pages.

Step 3: Choose a Website Builder and Set Up Your Website
Now you’re armed with a purpose and a website structure plan, it’s time to pick the best website builder for your review site.
Luckily, almost all of the most popular website builders such as Wix, Squarespace, and GoDaddy include the type of functionality you may need to create a fantastic and highly functional review website.
Which one is right for you will depend on several factors such as your budget, technical knowledge, and needs. For example, Wix is a fantastic website builder for those with minimal experience in website creation, offering countless tools to help you build a stunning website. On the other hand, WordPress is great for those with advanced web design knowledge, allowing for a much greater level of flexibility.
How you get started will vary slightly based on the platform you pick. However, they typically follow a process similar to this:
Sign Up
The majority of website platforms are incredibly easy to sign up for. Just fill out your details, confirm your email address and you’re ready to go.
Once signed up, you’ll need to pick a payment plan. Each plan will offer different features based on the price you pay. For example, the cheapest website builder plans will typically include only a domain name and a small amount of storage. More expensive plans will usually come with lots of extras such as email accounts and even advertising budgets.
Pick and Customize Your Template
You’re now ready to get started with your website design.
It’s important to take time to pick the best template for your site, because this will have a big impact on your user experience. When picking a template, consider how it looks and feels, but also use the plan you have created in the previous step to ensure it will meet your needs.
Most website platforms will let you make edits to the templates they offer, so you can align your chosen design with your brand and provide a smooth customer experience.
Add Pages and Organize Your Website
With your template in place and on brand, it’s time to add your pages.
With your plan to hand, this should be fairly straightforward. Systematically work through your plan, adding pages and creating the content for them. Finally, ensure that you add the most important pages to your top navigation menu.
Pick a Domain Name
Picking the right domain name is the last step in getting your website ready to launch.
With millions of websites already live, it can be tricky to find one. Here are some tips to help:
- If your website is brand related, consider brand-related domains such as [BrandName]reviews.com
- Consider names that would be good for SEO such as [productniche]reviews.com, www.best[productniche].com or www.[productniche]advice.com
- Consider domain names that would feel familiar and/or memorable to potential visitors (without copying others in your niche)
- Avoid domain names that are too long or complicated such as www.[productniche]reviewsthatwillhelpyoufindagreatoption.com or www.[productniche]-reviews2023.com
Step 4: Create Engaging and Informative Content
Developing a content strategy will make it easier to keep things fresh for your audience while also helping you boost your rankings on search engines. Although this can seem like a complex process, it doesn’t have to be. Here are some easy steps to follow:
- Define your content pillars (the key topics you will write about)
- Create ideas, titles, and outlines for a set number of reviews (usually 3-6 months’ worth)
- Create a schedule (with deadlines) for each stage of content creation such as writing, reviewing, uploading, and publishing
- Assign key responsibilities for each stage
- Set times to review your progress
Keeping your reviews concise and focused is essential in ensuring your audience stays engaged. It’s also important to make sure that your reviews are balanced. This is because if visitors consider your reviews as biased, they are very unlikely to trust your recommendations and advice.
You may help increase your authority within your niche by including other types of content on your review website. For example, you could include a blog that offers guides and tutorials.
Step 5: Implement User-Friendly Navigation and Design
We’ve already mentioned how important it is to make navigating your website as easy as possible, but here are some practical tips to help you make sure everything is as user-friendly as it can be:
- Keep your design simple, clean, and use plenty of white space
- Prioritize your key content and only include that within your top navigation menu
- Make your website easy to navigate with clear labelling for navigation menus
- Use responsive design to ensure that your website looks great and is easy to use on all platforms including desktop, laptop, tablet, and mobile
- Use visual elements to help direct the eye to the most important areas
- Ensure your website loads quickly
- Test your website regularly
Check out our guide on website navigation best practices for more tips!
Step 6: Promote and Monetize Your Review Website
So, you’ve got a great review website full of fantastic content. Now it’s time to promote your site and monetize it. Here are some tips to get you started:
Promoting Your Website
- Optimize your website for search engine rankings
- Use social media to engage with potential visitors and promote your content
- Build an email list so you can deliver new content straight to interested individuals
- Encourage social sharing by tagging relevant accounts and mentioned brands
- Build a community around your website, invite people to submit their own reviews, and reply directly to any questions or comments
Monetize Your Website
- Sign up for associated affiliate programs and include links in your reviews
- Offer sponsored content options to relevant brands
- Provide paid membership to access exclusive content

Step 7: Optimize Your Review Website for Search Engines (SEO)
With a predicted 8.5 billion daily searches happening through Google alone, search engines are a huge source of potential traffic. Optimizing your website’s SEO to help it appear on relevant search results can be a smart way to generate a consistent flow of high-value traffic to your review website.
Here are the basics steps associated with optimizing your website for search engines:
- Research the best keywords using tools like Google Keyword Planner and SEMRush, and look for keywords with high search volumes in your niche
- Create high-quality, engaging content which targets your keywords
- Optimize your websites meta tags, titles, and descriptions to include your keywords
- Develop a strategy for building internal and external links within and to your website
- Monitor and analyze your performance using tools such as Google Analytics, Google Search Console, and built-in platform tools
- Consistently optimize and update your website based on your findings
How to Build a Review Website: Summary
Creating a review website can be beneficial both for businesses and the consumers that use them. In this guide, we’ve walked you through the seven steps you need to take to create your own review site.
Let’s recap:
- Defining your niche
- Planning the structure & features
- Choosing your website platform
- Creating high-quality content
- Implementing a user-friendly design
- Promoting and monetizing your website
- Optimizing your site for SEO
Ready to help consumers find the very best products, services, and experiences for themselves? Then why not start building your review website today?


Leave a comment